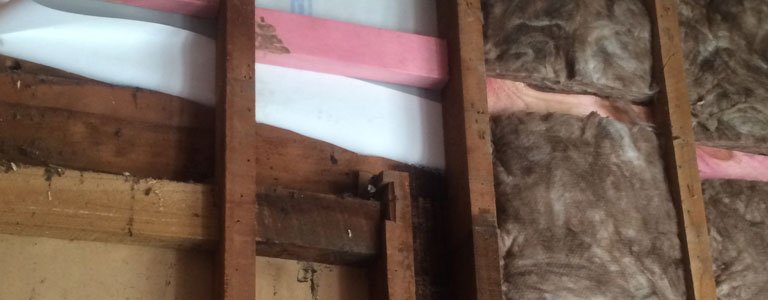
In general, we should accept that the bulk of New Zealand’s housing stock was built before 1978. The reason I choose this date it that it marks the year when insulation in walls become part of the Building Code. As I mention in the “Walls” article, stripping off the interior lining provides the perfect opportunity to enter the space that the original builders missed.
Much of the research into New Zealand homes shows up a severe lack of insulation, and this then leads to many health issues, and they perform poorly when tested for energy efficiency. By stripping out some of the homes I have renovated completely, we were able to fit insulation into the wall cavity before new wall linings were installed.
It is important to note that Council now require a Building Consent for retrofitting insulation. The concern is that work done poorly by those with little knowledge or expertise will increase problems regarding dampness, moisture and water ingress.
Over the years, I have worked on both brick clad and timber clad houses. After meeting with the insulation supplier, and consulting with the architects, we decided on a process for insulating the walls. Some of the brick houses had no building paper fixed to the outside of the framing, and for those that did, it was in a poor state. We used a breather type building wrap to line the inside of each cavity formed by the studs, plates and nogs. The building wrap was individually cut oversize, then stapled to the back edge of the frames. Because brick houses are designed to have a cavity between the back of the brick and the outside face of the framing that allows moisture to drain away, it is important that any insulation retrofitted to a brick home has building wrap installed to ensure that the insulation is not pushed into the cavity that far that it comes into contact with the brick veneer. It is fiddly and time consuming, but absolutely essential. We installed building wrap into the weatherboard house too, simply because it is best practice and again, the building wrap provides a barrier between the timber cladding and the new insulation so that moisture is not drawn into the insulation from outside.
I have used Autex Greenstuff Wall Pads with a rating of R2.5 or more. This pure polyester product is one of the few on the market that do not attract moisture and can be installed without the building wrap. The R rating shows the thermal resistance of the product being installed and is a measure of its effectiveness. There is a lots of complicated science behind all of this, but think of it this way. The higher the R value of the insulation you can install in a house, the warmer it will be because the heat does not escape as quickly. The Block NZ houses now have a combination of features that will mean they are warm and cosy. The insulation into the walls, floors and ceilings, new plasterboard lining, double glazed joinery and energy efficient heating all combine to make The Block NZ houses the type of home we should all be living in.
While the insulation and building wrap are hidden in a completed house, the wall linings are on show forever. By stripping out the houses and starting afresh we could use best practice for the installation of the new plasterboard linings, and use the most appropriate wallboard for the individual locations. Once wall and ceilings are painted, they may all look the same, but there is more than meets the eye. I have always followed the best practice guidelines set out by GibBoard to ensure that I use the best products, and that the type of plasterboard fixed is suited to the use of the room or provides a hidden benefit.
For example, using Gib Noiseline on walls between a bedroom and living room so that people could watch tv late at night while others slept undisturbed. Those walls were also fitted with Autex Acoustic insulation. The ceilings in most of the rooms are lined with Gib Ultraline 13mm board, fitted to Gib Rondo Ceiling Battens. The combination of the smooth surface of the Ultraline, the additional stiffness of the 13mm board, and the fact that we used the longest possible sheets to reduce the number of joints means the finished product is top notch.Bathrooms and wet areas like laundries were lined with Gib Aqualine which is more moisture resistant than Standard board, and we used the 13mm Gib Aqualine on the ceilings.
The Gib Site Guide is a handy reference guide to best practice guidelines when selecting and fixing the linings. One of the important elements in achieving a good finish is to fix the wall sheets horizontally. This means just one joint in the wall, and because all the windows and doors have architraves fitted after the plasterboard is fixed, the sheets can run continuously over the tops of the door and windows, meaning no joints in areas that are prone to movement and therefore cracking. Even where the stud height is 2700mm, we could fix horizontally by using Gib Wideline sheets that are 1350mm wide. GibFix One adhesive was applied to the framing and battens before the plasterboard was screwed to the framework or Rondo metal batten.
By using this system we have avoided many of the pitfalls that can lead to a poor interior finish. Fixing horizontally reduces the number of joints between sheets, selecting and fixing the right type of plasterboard means better finish after stopping and painting, setting out the sheets to account for Critical Light (see the Site Guide for more details) and taking time to prepare the walls, ie checking that the studs and nogs are straight, before fixing the plasterboard all lead to a good job well done.


