
While much time and energy (and money) is spent during a renovation on many things you cannot see when the job is done, the paint finish is always on display. Potential buyers or curious friends will look closely at walls and ceilings, cast a critical eye over the cutting in, and stand back to see if the sunlight illuminates those flaws you thought you had covered.
Many of us choose to complete the work of a renovation by doing the painting ourselves, and I have done this myself on my own home. I think it’s a great idea, but let’s get it right; you don’t want to lower the standard of a major renovation with a poor paint job.
The wall and ceiling lining in a home provides the base for the paintwork. No matter how good the painter and the paint used, if you are painting over uneven or rough surfaces, it will simply look like paint over rough and uneven surfaces. Before we even think about picking up a brush or roller, let’s talk preparation.
In a broad sense, the better the lining, the better the finish. The better the plasterboard fixing, the better the gib stopping can be. The right products and systems are key, so check out the Gib Site Guide, which details the compounds and tapes to be used when stopping Gib Plasterboard. My main advice here is read first, work second. The hard lesson I have learnt when doing my own stopping is it is better to apply less stopping compound on each coat, and maybe have to do an extra coat, rather than having to sand back excess compound once it is dry.
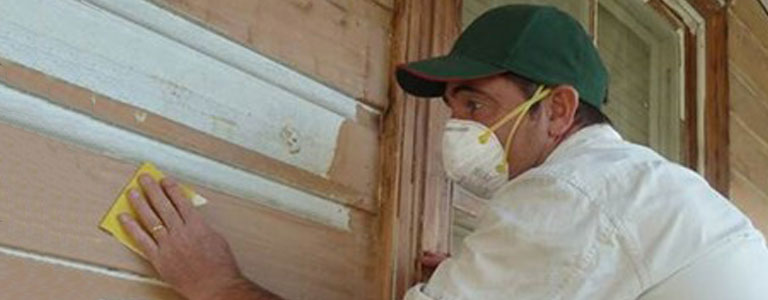
Preparation is 75% of painting. Tough to hear, but my advice when asked about the key to a good paint finish is “sand until your fingers are bleeding”. Remember that paint is only microns thin, and that most imperfections in the surface you are painting will still be visible after a coat of paint.
The stopping of plasterboard walls and ceilings needs to be sanded using a wide sanding pad and very fine sandpaper like a 220 grit. New plasterboard needs a sealer coat before the two top coats are applied. To check whether your final coat will be great, use a halogen worklight held almost parallel to the wall so the light shines along it. This will cause any hollows or humps to cast a shadow. Sand or fill as required, reseal, then you are ready to paint.
Important tips
- Most walls and ceilings are painted using a roller with a sleeve, and the edges are cut in with a brush. Spending a few extra dollars on a good sleeve or brush will give you a better finish.
- Do your cutting in first, then roll the wall or ceiling.
- When rolling, always finish in the same direction so the wall has an even appearance.
- Get used to using an extension pole so you can roll from top to bottom and keep a wet edge.
- Cover what you don’t want painted, and mask the edges of glass. It is easier to keep paint off a surface than remove it later.
- Clean your brushes and rollers out, but make sure you don’t rinse the excess paint into the sewers or stormwater drains.
As I said before, practice makes perfect.