
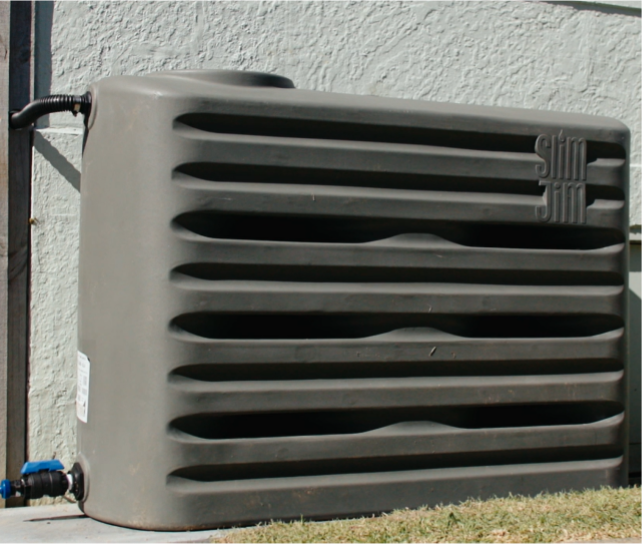
Installing a Bailey 600L Slim Jim tank is a straightforward DIY project; everything you need comes in the kit provided, right down to the hole saw and hose clips.
If you can use a drilland a tape measure, you can install this tank. Here’s how to get it done.
Step 1 — Choose the Location & Prepare the Base
Start by selecting a spot close to the downpipe you’ll be connecting to. Create a level, firm pad for the tank to sit on; compacted gravel, pavers, or concrete are ideal. This base must support the full weight of the tank once it’s filled with rainwater
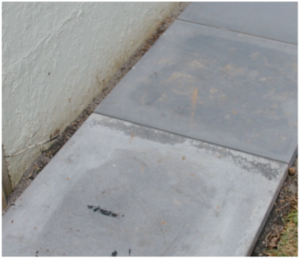
The entry point on the tank must line up level with the entry point on the downpipe. Inside the tank, you’ll find a plastic bag containing all the parts and tools you need; no extra tools are required.

Step 2 — Plan the Pathway
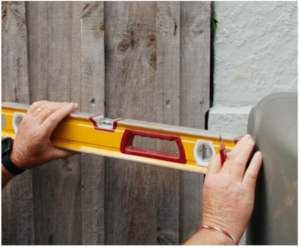
With the tank in place, measure the pathway between the tank flange and the downpipe. You want a level connection, not sloping up or down. This ensures the system works as both a water collector and an overflow when the tank is full.
Step 3 — Drill the Hole in the Downpipe
Using the supplied hole saw, drill a hole in the downpipe at the height you measured.
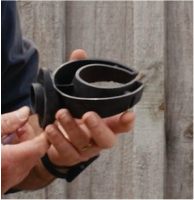
Fit the supplied insert, which looks like an oversized mouth guard, into the hole. This is the internal diverter. Here’s the clever bit: Most water actually runs down the outside of the inner pipe. The insert captures that flow and directs it into your tank. When the tank built in overflow.
Secure the insert with the supplied collar and fix it with the two screws provided.
Step 4 — Drill the Hole in the Tan
Next, drill the hole in the tank flange using the supplied hole saw. Clean up any rough edges so the surface is smooth and ready for the hose connection.
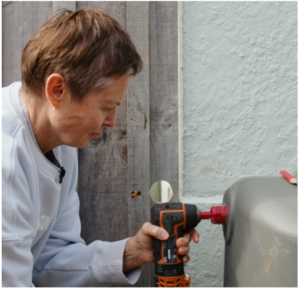
Insert the spigot through the hole in the tank and fasten it using the supplied lock nut.
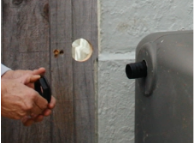
Step 5 — Connect the Flexible Hose
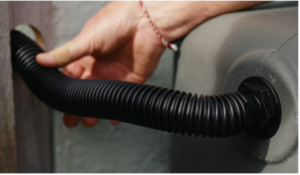
Connect the flexible hose to the spigot. Pull the hose taut enough to avoid sagging, but not so tight that it strains the fittings. A sagging hose can cause water to pool, so aim for a neat, level line
Step 6 — Secure the On/Off Collar & Valve
Attach the collar to the on/off M/F ball valve connector, then screw the assembly onto the downpipe.
This valve is extremely handy:
- Summer: leave it open to collect maximum water.
- Winter: close it when the tank is full so water bypasses the tank and flows straight down the pipe.
Secure the insert to the downpipe using the supplied screws.
Step 7 — Fit the Hose Clips
Once the flexible hose is cut to length and connected, secure it to the tank using the provided hose clip. Tighten firmly.
Step 8 — Install the Hose Tap at the Bottom of the Tank
At the bottom of the tank is a threaded hole for your hose fitting.
Wrap the white plumbing tape 3–4 times clockwise around the thread of the hose fitting. This ensures a watertight seal.
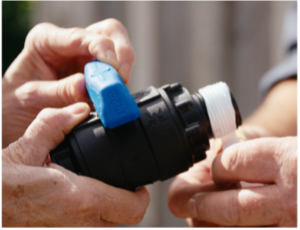
Thread the hose fitting clockwise into the tank. You may need a wrench to tighten it fully.
Repeat the plumbing tape process for the hosepipe reducer, wrapping clockwise again, then screw it into the hose fitting.
Step 9 — Attach the Hose Fitting
Now that your hose reducer is fitted, you’re ready to connect your garden hose. 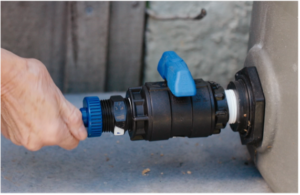
Attach your regular garden hose fitting. Turn the tap on, and enjoy your own supply of collected rainwater.
Want to See It Done?
Watch Peter demonstrate how to install your Bailey 600L Slim Jim Tank or learn more at tanks.co.nz.